Databases – Final Submission Guidelines
File Naming
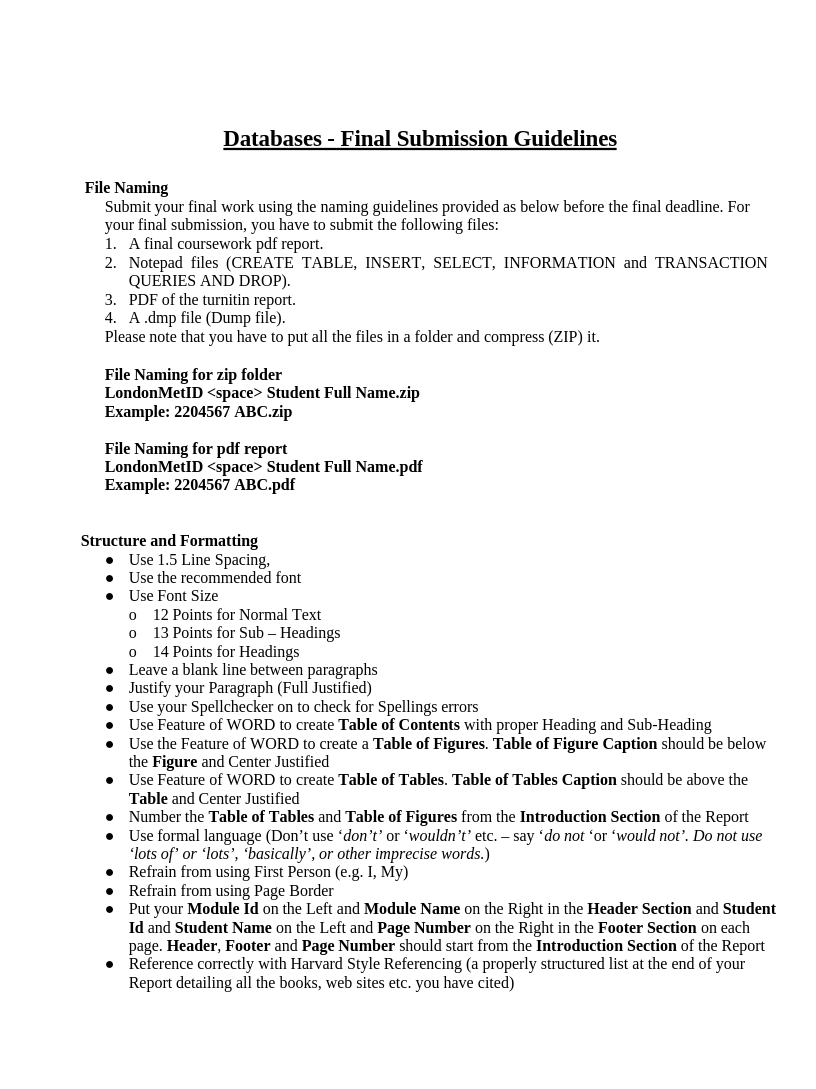
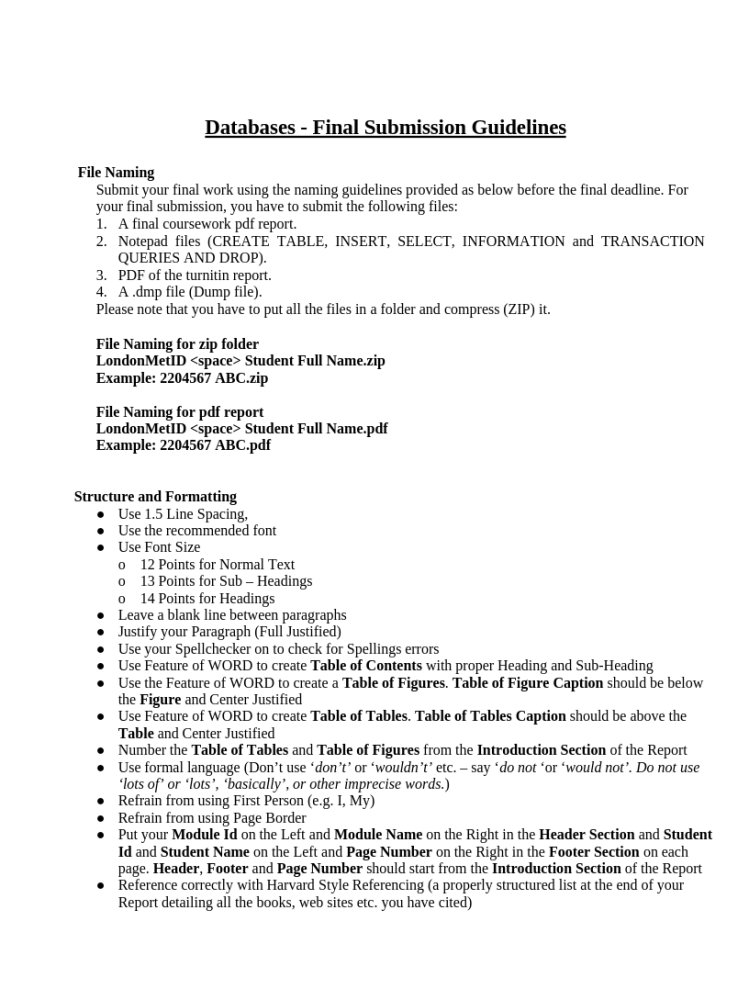
Submit your final work using the naming guidelines provided as below before the final deadline. For your final submission, you have to submit the following files:
1. A final coursework pdf report.
2. Notepad files (CREATE TABLE, INSERT, SELECT, INFORMATION and TRANSACTION QUERIES AND DROP).
3. PDF of the turnitin report.
4. A .dmp file (Dump file).
Please note that you have to put all the files in a folder and compress (ZIP) it.
File Naming for zip folder
LondonMetID <space> Student Full Name.zip
Example: 2204567 ABC.zip
File Naming for pdf report
LondonMetID <space> Student Full Name.pdf
Example: 2204567 ABC.pdf
Structure and Formatting
● Use 1.5 Line Spacing,
● Use the recommended font
● Use Font Size
o 12 Points for Normal Text
o 13 Points for Sub – Headings
o 14 Points for Headings
● Leave a blank line between paragraphs
● Justify your Paragraph (Full Justified)
● Use your Spellchecker on to check for Spellings errors
● Use Feature of WORD to create Table of Contents with proper Heading and Sub-Heading ● Use the Feature of WORD to create a Table of Figures. Table of Figure Caption should be below the Figure and Center Justified
● Use Feature of WORD to create Table of Tables. Table of Tables Caption should be above the Table and Center Justified
● Number the Table of Tables and Table of Figures from the Introduction Section of the Report ● Use formal language (Don’t use ‘don’t’ or ‘wouldn’t’ etc. – say ‘do not ‘or ‘would not’. Do not use ‘lots of’ or ‘lots’, ‘basically’, or other imprecise words.)
● Refrain from using First Person (e.g. I, My)
● Refrain from using Page Border
● Put your Module Id on the Left and Module Name on the Right in the Header Section and Student Id and Student Name on the Left and Page Number on the Right in the Footer Section on each page. Header, Footer and Page Number should start from the Introduction Section of the Report
● Reference correctly with Harvard Style Referencing (a properly structured list at the end of your Report detailing all the books, web sites etc. you have cited)
1. SIMILARITY INDEX REPORT:
Check for plagiarism of your coursework final report from Introduction section till Critical Evaluation section using the Turnitin Draftcoach feature of your Microsoft Word Online (NOTE: you must login using your college email address to use this feature).
After generating the similarity index report of your coursework FINAL REPORT, download the turnitin report and attach the pages of the similarity report section (Cropped of Document Details and Overall Similarity pages) to your final report after the Cover page. (NOTE: Plagiarism / Similarity index must be below 20%)
2. Table of Contents, Table of Figures, Table of Tables (Separate Page)
3. PART 1: INTRODUCTION
a. Introduction of the business and its forte
i. Choose an Organization / College / School.
ii. Introduce the Organization / College / School (Establishment, mission and values etc.) Can include photo / picture of Organization / College
iii. Mention about Ms. Mary (Founder/Principal of the college), proposal to develop “E-Classroom platform” at the end of the Introduction Page.
b. Description of Current Business Activities and Operations
i. Explain about the Organization / College / School’s different activities.
ii. In Operations, summarize Ms. Mary’s requirement of designing Database for ‘E-Classroom Platform’
c. Business Rules
i. List of Business Rules derived from the description of Operational Procedures used in the system from the Coursework scenario of the “E-Classroom platform”.
ii. The rule affects the structure of the database schema and the preparation of Initial and Final ER Diagram.
iii. Put the Business rule in the Bullets.
iv. Business Rules should be based on the relationship of the two Entities (Both sides) or may of Unary and Ternary.
d. Assumptions
i. If it is not clearly mentioned in the Coursework scenario of the “E-Classroom platform” then it should be mentioned in Assumption
ii. If you are assuming any business rule then it should be mentioned in the Business Rule as well as in the Assumption.
4. INITIAL ERD
The initial Entity Relationship Model should include:
a. Identification of Entities and Attributes
i. Put the Attribute of the Entity in a Tabular Format
ii. Mention Data Types as Character, Number, Date or Picture. Do not mention Integer, Varchar etc. b. Draw Initial Entity Relationship Diagram Entities with Attributes, Relationships, Cardinality (1 to 1 ; 1 to Many ; Many to Many) and Relationship Existence / Modality (Mandatory or Optional) i. Use Crow’s foot notation
ii. Clearly mark primary keys
5. Part 3. Normalization
a. Normalize from Un Normalized Form (UNF) to Third Normal Form (3NF). Show all the process description with all the steps of normalization following the rules of each normal form. b. Must show dependencies.
c. The Relations in the 3NF will be depicted in the Final Entity Relationship Diagram (Final ERD)
6. Part 4. Data Dictionary and Final ERD
The Final Entity Relationship Model should include:
a. List of Entities after Normalization with Attributes.
i. Put the Attribute of the Entity in a Tabular Format:
STUDENT-MODULE
|
S. No. |
Attribute Name |
Data Type |
Size |
Constraint |
Composite Constraint |
|---|---|---|---|---|---|
|
1 |
Student No |
Number |
10 |
Foreign Key |
Primary Key |
|
2 |
Module No |
Number |
10 |
Foreign Key |
|
|
3 |
|||||
|
4 |
|||||
|
….. |
ii. Mention Data Types as Character, Number, Date.
iii. Here you must mention Foreign Key Attributes.
iv. If you have Composite Primary Key or Composite Foreign Key then add a new Column Composite constraint and Merge the Rows of these Composite Constraint and Mention the Constraint.
7. Part 5. Implementation
For the Implementation part, you must use the SQLPlus Environment. Then, create a user with your own name and password as your LondonMet Id, assign the required privileges to this user. Login to this user and create the tables here.
e.g. CREATE USER dipesh IDENTIFIED BY 22342567;
GRANT CONNECT, RESOURCE TO dipesh;
CONNECT dipesh/22342567
a. Create Tables
i. Create Tables for the “E-classroom Platform” using CREATE Statement
ii. While defining the size for the column name during table creation, define the appropriate size. (DO NOT GO FOR THE MAXIMUM SIZE)
iii. Ensure that all Constraints including Referential Integrity is established between related tables. iv. Take a snapshot of CREATE Statement. Put the snapshot in the final report. v. Put the Table Creating command in a Notepad File. You will have one Notepad file for all the CREATE Statement for the “E-classroom Platform”
vi. You may create tables first and then add the constraints. In this case you need to take a snapshot of the ALTER TABLE statement and attach to the final report. Put the ALTER TABLE statement in a Notepad File. You will have one Notepad file for all the ALTER Statement for the “E-classroom Platform”
b. Adding Rows to Tables
i. Add rows to tables with appropriate test data that is relevant to the questions listed in the Coursework Document using INSERT Statement
ii. Enter at least 7 rows in each table. Once you have inserted 7 rows to the table, execute the COMMIT statement.
iii. Take the snapshot of the INSERT Statement used to populate table data. Put the snapshot of INSERT Statement in the final report.
iv. Show the content of the TABLE using SELECT statements.
v. Take a snapshot of this SELECT Statement. Put the snapshot of SELECT Statement in the final report.
vi. Put the INSERT Statement in a Notepad File. You will have one Notepad file for all the INSERT Statement for the “E-classroom Platform”
8. Part 6. Database Querying
i. For each Information and Transaction Query question, solve each query using a valid Oracle SQL SELECT statement.
ii. Take a snapshot of the SELECT statement and also of the respective resulting images of the output for each question (Information & Transaction Queries).
iii. Attach the snapshot of each SELECT Statement with the resulting output in the final report. iv. Put the Information and Transaction query SELECT statements in a Notepad File. You will have separate Notepad file for all the Information and Transaction query Statement for the “E-classroom Platform”
9. Part 7. Critical Evaluation
i. Critical Evaluation of module, its usage and relation with other subject
ii. Critical Assessment of coursework
10. Dump File Creation and Drop Queries
i. You are required to create and export your coursework database schema after the completion of every section of the coursework
ii. Execute the dump file command using the command prompt environment of your operating system. (NOTE: You can take reference from the slides of Week 9 – Lecture for the dump file creation) iii. Take the snapshot of the dump file export process where the full command with the execution process must be visible.
iv. Connecting to the user created for the coursework in Oracle, execute the Drop Table query from your database design according to order but only after the creation of the DUMP FILE. v. Take the snapshot of all Drop Table queries and attach it to your final report. vi. Put the Drop statements in a notepad file.
vii. You will have separate Notepad file for all the DROP Statements for the “E-classroom Platform”
11. References / Bibliography
i. Kindly follow Harvard referencing style for listing the respective references.
![🌟 𝐀𝐜𝐡𝐢𝐞𝐯𝐞 𝐘𝐨𝐮𝐫 𝐀𝐜𝐚𝐝𝐞𝐦𝐢𝐜 𝐆𝐨𝐚𝐥𝐬
✅ 𝐂𝐨𝐦𝐩𝐫𝐞𝐡𝐞𝐧𝐬𝐢𝐯𝐞 𝐒𝐮𝐩𝐩𝐨𝐫𝐭: Essays, reports, and presentations for any subject.
✅ 𝐅𝐢𝐧𝐚𝐥 𝐘𝐞𝐚𝐫 𝐏𝐫𝐨𝐣𝐞𝐜𝐭𝐬: Expertise in Python, Java, React, and AI-related topics.
✅ 𝐓𝐞𝐜𝐡𝐧𝐢𝐜𝐚𝐥 𝐒𝐨𝐥𝐮𝐭𝐢𝐨𝐧𝐬: Data visualization, machine learning, and algorithm development.
✅ 𝐒𝐭𝐫𝐮𝐜𝐭𝐮𝐫𝐞𝐝 𝐑𝐞𝐬𝐮𝐥𝐭𝐬: Well-organized, professional work ready for submission.
✅ 𝐂𝐥𝐢𝐞𝐧𝐭-𝐅𝐨𝐜𝐮𝐬𝐞𝐝: Tailored solutions for British and international curricula.
🎓Assignment Nepal ★彡[ 𝐬𝐩𝐞𝐜𝐢𝐚𝐥𝐢𝐳𝐞𝐝 𝐢𝐧]彡★:
Tribhuvan University
Purbanchal University
Nepal Open University
British College
📜 𝐒𝐞𝐫𝐯𝐢𝐜𝐞𝐬 𝐈𝐧𝐜𝐥𝐮𝐝𝐞:
Assignments, Essays, and Case Studies
Project Reports
Coding Tutorials
Business Proposals
💼 𝐄𝐱𝐩𝐞𝐫𝐭𝐢𝐬𝐞:
Undergraduate to Doctorate Levels
🛡️ 𝐐𝐮𝐚𝐥𝐢𝐭𝐲 𝐆𝐮𝐚𝐫𝐚𝐧𝐭𝐞𝐞𝐝:
Accurate and Plagiarism-Free Work
💬 Support:
24x7 Support
📖 ▁ ▂ ▄ ▅ ▆ ▇ █ ℂ𝕠𝕟𝕥𝕒𝕔𝕥 𝕦𝕤 𝕥𝕠 𝕆𝕣𝕕𝕖𝕣: ▇ ▆ ▅ ▅ ▄ ▂ ▁
🪩 𝕀𝕟𝕤𝕥𝕒𝕘𝕣𝕒𝕞: @assignment__nepal
🅕 Facebook: www.facebook.com/assignmentnepal
Email: price@assignmentnepal.com
Website: www.assignmentnepal.com
#IslingtonCollege #PlagiarismFree #AcademicSuccess #BritishCollege #TrustedExperts #AssignmentNepalHelp](https://assignmentnepal.com/wp-content/plugins/instagram-feed/img/placeholder.png)
